Developing a UI with Vue, Part 5: The Multi-Step Form
I'm a UI Developer from New Jersey, USA. I love everything front-end, from design to implementation, and hope to share my experiences in development here.
In my last post , we developed the Login page by building custom input and button components. Now, we're going to focus on building a multi-step registration form to sign up new users.
The first time I built one of these I thought it was the coolest. I was also intimidated by the process, but after a few attempts and an understanding of what was happening, it became quite fun and simple to pull off.
Defining data properties
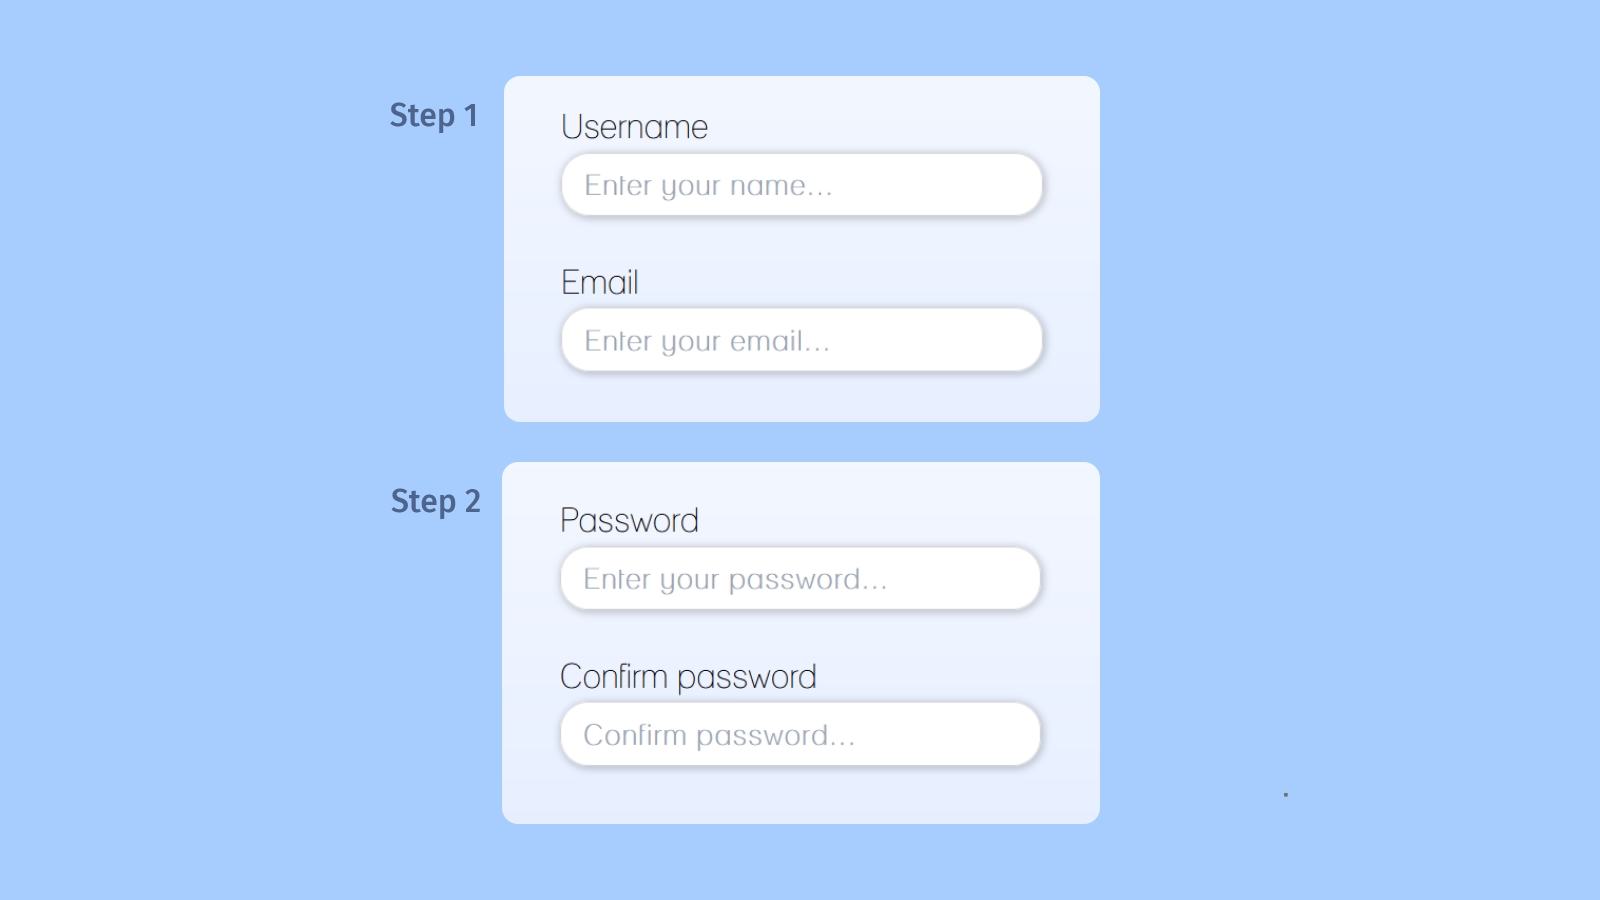
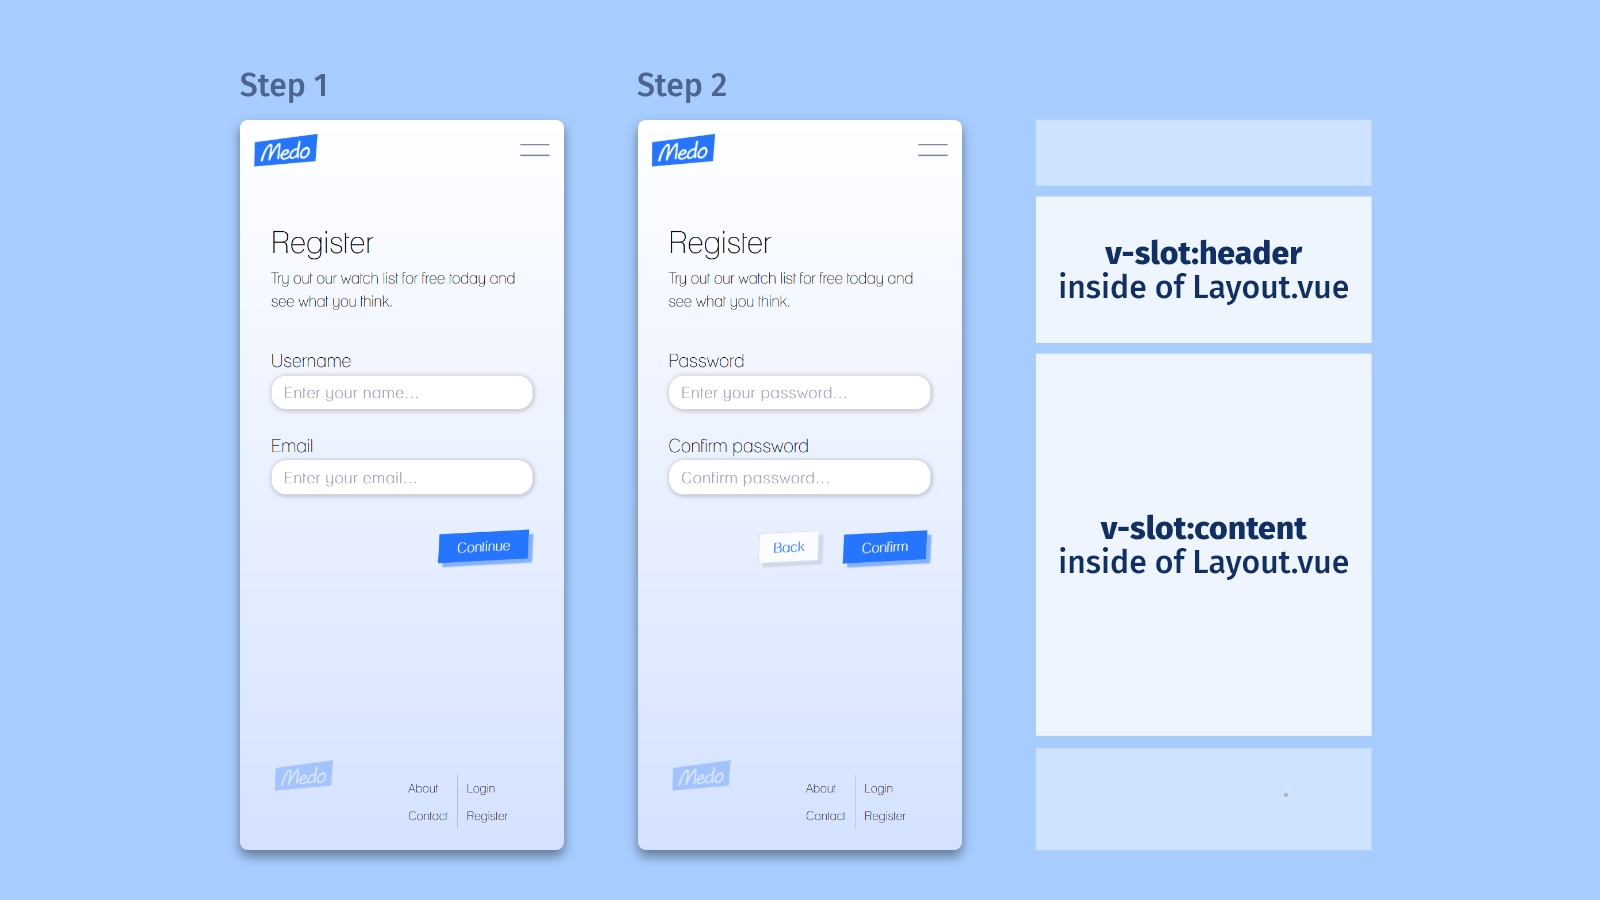
We're going to start by defining what fields we'll need to capture, and how many steps the user will have to go through:
- Step 1 will gather the user's username and email
- Step 2 will gather their password and confirmed password
In our Vue instance, we'll define those values as data properties. We're also going to add a number property called step, which we'll use to handle which piece of the form gets rendered to the user, as well as a boolean error flag.
// Register.vue

export default {
  name: 'Register',
  data() {
    return {
      step: 1,
      name: '',
      email: '',
      password: '',
      confirm_password: '',
      error: false,
    }
  },
}
Using v-if
To build the each step of our form, we'll create two <div> elements, each containing the inputs we'll want displayed depending on the step. We can use the v-if directive to provide this conditional logic.
<template v-slot:content>
  <form>
     <div v-if="step === 1">
        <BaseInput
          label="Name"
          placeholder="Enter your name..."
          v-model="name"
          required
        />
        <BaseInput
          label="Email"
          placeholder="Enter your email..."
          v-model="email"
          required
        />
     </div>
     <div v-if="step === 2">
       <BaseInput
         label="Password"
         placeholder="Enter your password..."
         v-model="password"
         type="password"
         required
       />
       <BaseInput
         label="Confirm password"
         placeholder="Confirm password..."
         v-model="confirmed_password"
         type="password"
         required
       />
    </div>
  </form>
</template>
Notice we're using v-model to bind each value to its property in the data() object, and that we've set up our input component to accept the required prop. That prop is getting passed to the component's native HTML input, which takes some validation work off of our plate!
With that, we've got two steps available to display:
Now we need a way to change the step. Let's take a look at how to create handlers to get that done.
Handling the step
Each button component is set up to receive a @click handler as a prop. Here, we're going to define two handlers inside methods: one to increment the step, and one to decrement it.
export default {
  // ...rest of the object
  methods: {
    incrementStep() {
      const formFilled = this.username && this.email;
      if (this.step === 1 && formFilled) {
        this.step = this.step + 1;
      }
    },
    decrementStep() {
      if (this.step === 2) {
        this.step = this.step - 1;
      }
    },
  }
}
Each handler is set up with the following logic:
incrementSteponly works whenstepis equal to 1, so that it can only get as far as 2. I've also set up logic to ensure thatusernameandemailare provided before the user is able to move onto step 2.decrementSteponly works whenstepis equal to 2, so that it can only get as far as 1.
When we attach those handlers to the buttons, we'll use some v-if directives too. On step 1, we want to allow the user to increment:
<BaseButton v-if="step === 1" @click="incrementStep">Continue</BaseButton>
And on step 2 the user can either go back, or submit.
<BaseButton v-if="step === 2" @click="decrementStep" variant="secondary">Back</BaseButton>
<BaseButton v-if="step === 2" type="submit">Confirm</BaseButton>
We'll place the buttons inside of a wrapper div in order to align them to the right with some spacing.
<form>
  <div v-if="step === 1"><!-- Step 1 inputs --></div>
  <div v-if="step === 2"><!-- Step 2 inputs --></div>
  <div class="button-wrapper">
    <BaseButton
      v-if="step === 1"
      @click="incrementStep">Continue</BaseButton>
    <BaseButton
      v-if="step === 2"
      @click="decrementStep"
      variant="secondary">Back</BaseButton>
    <BaseButton
      v-if="step === 2"
      type="submit">Confirm</BaseButton>
  </div>
</form>
Now we can we interact with the form:
Handling form submission
To bring it all together, we need to handle the submission of our form. Without a back-end, there's nowhere to really send it. But we can create the handler with some validation to get us started.
Just as we did with the Login page, we are going to add a @submit handler to our form with the prevent event modifier. Then, we'll include the handler as a method in our export object:
<form @submit.prevent="handleRegister">
    <!-- the form we've just built -->
</form>
export default {
    methods: {
      handleRegister() {
        const passwordsFilled = this.password && this.confirm_password;
        const passswordsMatch = this.password === this.confirm_password;
        if (passwordsFilled && passswordsMatch) {
          this.error = false;
          // perform form submission...
        } else if (!passswordsMatch) {
          this.error = true;
        }
      },
    }
}
Let's break down the above validation in handleRegister:
- We're making sure that
passwordandconfirm_passwordhave values - We're making sure that
passwordandconfirm_passwordmatch.
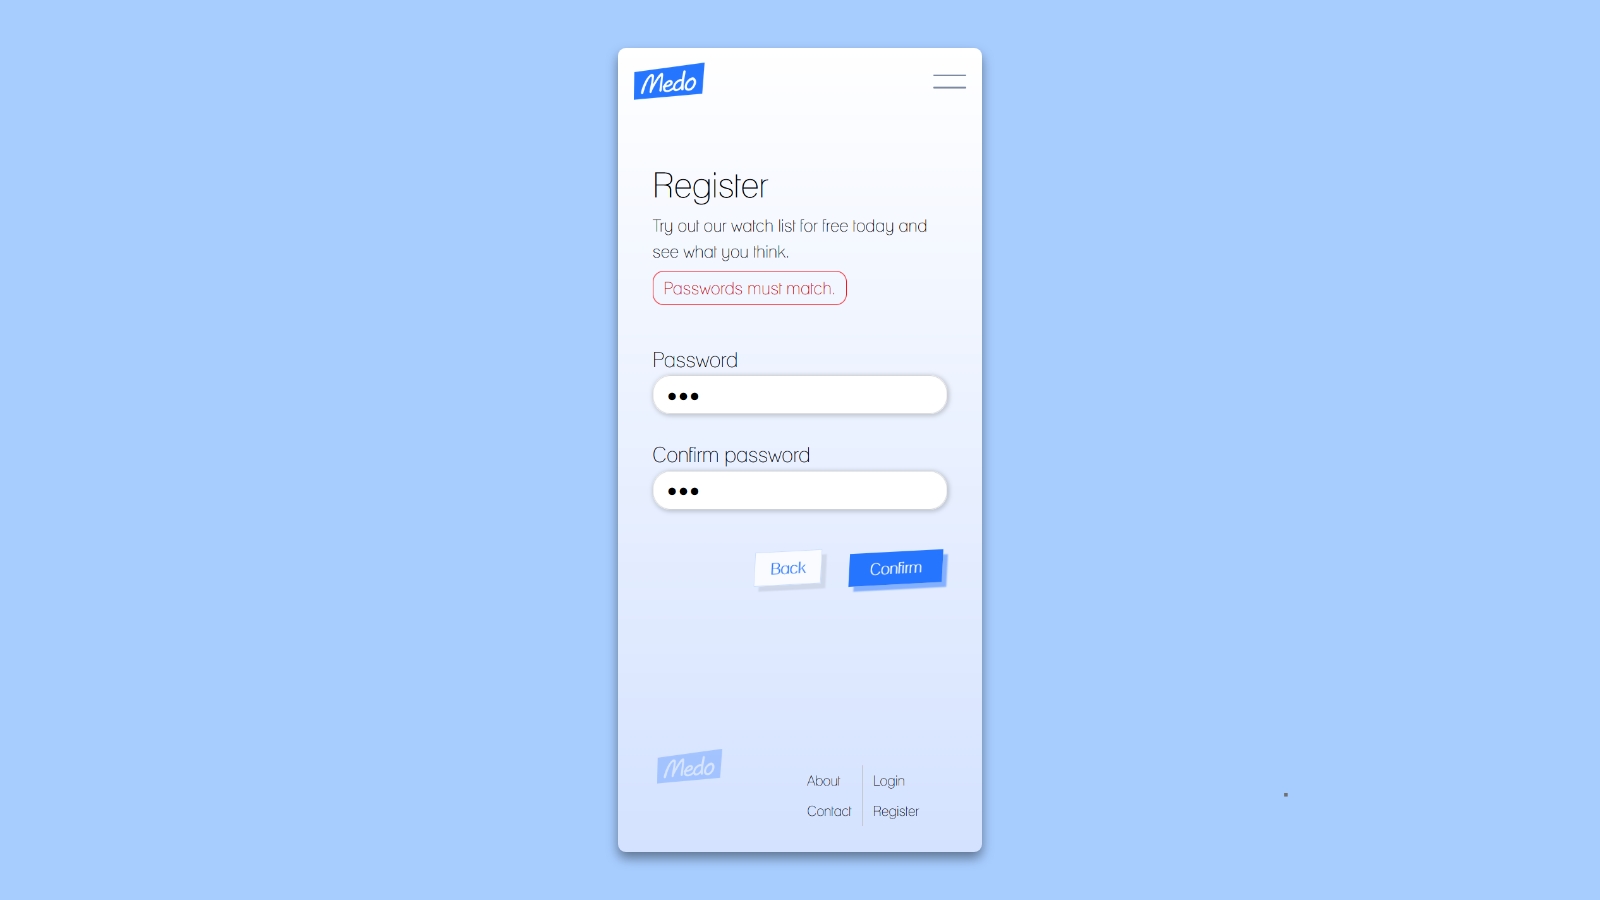
If both are truthy, we'll continue on with form submission and clear errors. Otherwise, we set error to true and inform the user of the error, which appears right above the first input inside of the "header" named slot.
<template v-slot:header>
  <h1>Register</h1>
  <p>Try out our watch list for free today and see what you think.</p>
  <p class="error" v-if="error">
    Either a password field is missing, or they do not match.
  </p>
 </template>
Now when there's a problem with the password, the user will see a message like this:
At this point, we've basically hit a dead end until we get login working and build the actual app.
That's why I'm going to be be turning my attention to the much discussed Supabase: the open-source alternative to Google's Firebase that's becoming quite popular. I've always been drawn to UI, so platforms like this are always exciting for me to work with. See you soon ✌️